

Mixer Agitator Services A Complete Guide to Selection and Maintenance
2026-08-27
If your mixer agitator has ever stalled mid-batch or chewed through seals faster than expected, you already know selection and maintenance aren’t just checkboxes. This guide breaks down what actually matters when choosing a unit and keeping it alive—without the fluff. We’ll also look at how Sinou designs around common failure points, so you can spot the difference between equipment that lasts and equipment that just looks good on a spec sheet.
How to Match Impeller Type to Your Mixing Objective Without Overbuying
Start by naming the actual flow pattern your process needs. If you're blending miscible liquids or keeping a solids suspension homogeneous, a hydrofoil or pitched-blade turbine delivers high axial flow at low power draw. For gas dispersion or creating fine droplets in immiscible systems, a radial-flow impeller like a Rushton turbine is more appropriate, but it draws far more energy per unit of mixing. The common overbuy happens when someone picks a high-shear radial impeller for a simple top-to-bottom turnover job, then pays for that excess power on every batch.
Viscosity changes the selection sharply. Thin, water-like fluids mix well with an open impeller, but a highly viscous or shear-thinning product needs a close-clearance anchor or helical ribbon to sweep the wall and avoid stagnant zones. Solids suspension is another trap: a downward-pumping pitched-blade turbine positioned close to the bottom lifts particles efficiently, while a gas-dispersion impeller would waste energy and still leave a dead layer. Match the impeller diameter to roughly one-third the tank diameter, verify the calculated blend time against your actual requirement, and resist the urge to oversize. A correctly chosen hydrofoil at moderate speed often beats a large, high-power turbine on blend time per watt and capital cost.
Reading Wear Patterns: What Your Agitator Is Trying to Tell You
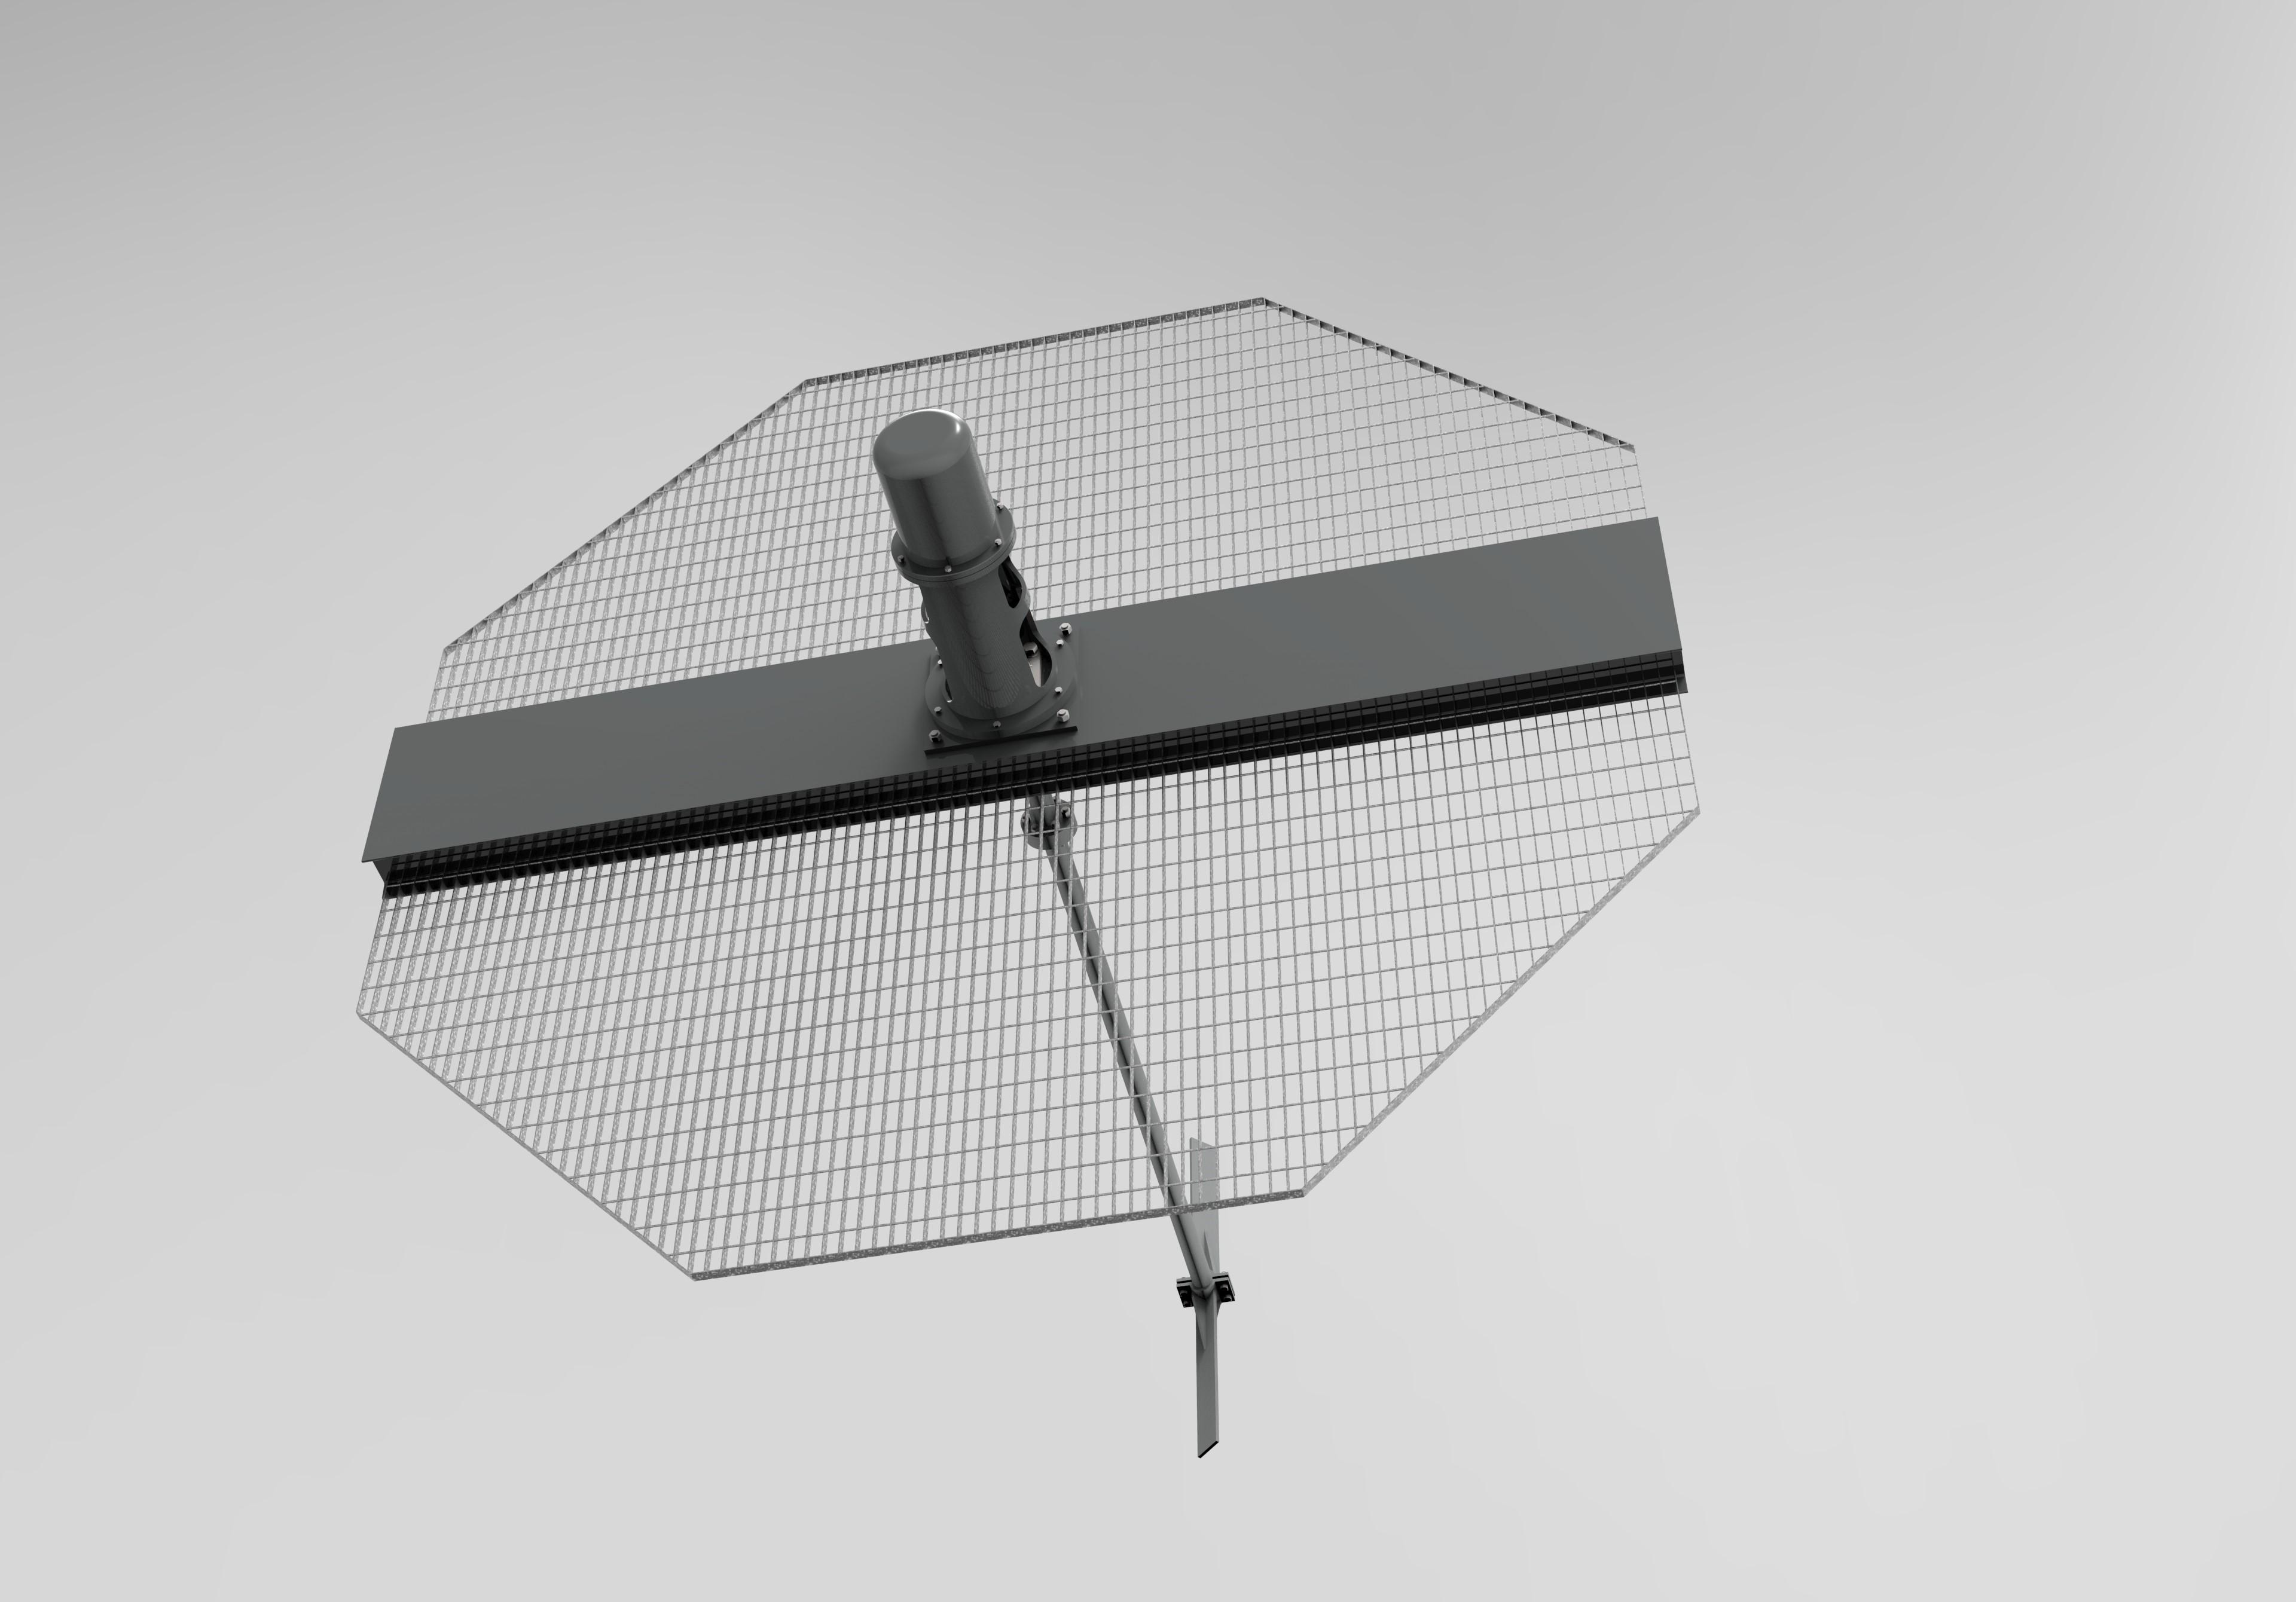
Most people glance at a washing machine agitator and see a chunk of plastic doing its job. But if you look closer, the wear marks tell a story. A shiny, polished band around the lower third is normal—that's just years of fabric rubbing against the fins. What should catch your eye are uneven grooves, small cracks radiating from the base, or a dull, sandblasted texture near the top. These aren't random scuffs; they're clues about load balance and how the machine has been used.
Deep vertical grooves that only appear on one side often point to repeated off-balance loads. Maybe a single heavy item like a soaked bath mat got thrown in alone too many times, forcing the agitator to whip harder on one side. Cracks around the splined hub? That's usually from forcing the agitator back and forth during a jam or using the machine to wash items with hard buckles or metal fasteners. A smooth but flattened set of fins near the base suggests years of small loads that never gave the agitator a chance to rock evenly through the water, so it wore down the same contact points over and over.
So before you order a replacement, use the wear as a diagnostic. If you see one-sided grooving, start balancing your loads better—mix large and small items. If the hub area shows stress cracks, check for foreign objects that may have jammed the spin cycle and ease off on overloading. Paying attention to these subtle patterns can add years to your machine's life, and the agitator will keep whispering its needs as long as you're willing to listen.
Shaft Alignment Checks That Prevent Most Seal Failures
Most seal failures trace back to a shaft that isn't running true, and the quickest way to catch that is by checking alignment before the machine ever gets bolted down. A dial indicator placed on the coupling hub will show you if the shafts are offset or at an angle, but don't stop at the coupling. Walk the entire shaft run, check the bearing housings for even gaps, and look for soft foot under the drive end. Those small gaps under a mounting foot can flex the casing enough to wipe out a seal in days, not months.
Once the machine is at operating temperature, the alignment you set cold rarely holds. Thermal growth moves the shaft centerline, sometimes more than the seal's allowable misalignment. Recheck the alignment hot, and if you can't run the unit, use the manufacturer's growth estimates to offset the cold setting. Also watch for pipe strain on pumps; a flanged connection that needs prying into place is already pushing the shaft off center before startup.
Laser alignment tools are standard now, but they don't replace basic checks. Confirm the shaft runout at the seal chamber with a dial indicator, make sure the coupling spacer is properly fitted, and verify that the driver and driven shafts rotate freely by hand before final tightening. If the seal keeps failing on the same machine, take the extra hour to check the baseplate for distortion; a twisted foundation will defeat even a perfect coupling alignment.
The True Cost of Cheap Mixer Service Contracts
A dirt-cheap mixer service contract usually gets you little more than an annual visual check and a few vague promises. The moment something actually breaks, you discover that "covered" only means the labor to open the panel—not the motor, gearbox, belts, or circuit boards that typically fail. Suddenly you're paying full retail for parts, plus a hefty trip charge, on top of the contract fee you already shelled out.
Then there's the delay factor. Cut-rate providers often juggle too many clients with too few technicians, so a dead mixer can sit idle for days or weeks. If you run a bakery, restaurant, or production line, that downtime costs more than the premium contract would have. And rushed repairs done by underqualified techs tend to fail again quickly, pulling you into a loop of repeated callout fees.
Over time, cheap service programs also skip preventive maintenance that extends equipment life—no lubrication schedules, no calibration, no early-warning diagnostics. The result is a mixer that breaks down harder and gets replaced years sooner. Add up the hidden parts markup, emergency labor, lost production, and premature replacement, and the "bargain" contract often ends up costing triple what a proper maintenance plan would have.
Viscosity Changes and Speed Adjustment: A Field-Tested Decision Path
When viscosity drifts outside the expected band on a production line, the first move isn't to stop the pump. Operators use a simple three-step check: confirm the reading with a handheld viscometer, compare it against the last stable batch log, and then trim line speed by no more than 8 percent. This small cut reduces shear stress without starving downstream equipment.
The field-tested path relies on a laminated decision card kept at the control panel. It maps viscosity deviation ranges to speed adjustments—for example, a 10 percent rise above target calls for a 6 percent speed reduction on most emulsions, while a 15 percent rise means slowing by 12 percent and notifying the shift lead. The card was built from nine months of shift data, not supplier specs.
After each adjustment, the team logs the actual viscosity recovery time and any pressure spikes in the transfer line. Over time, these logs reveal machine-specific quirks: one mixer might handle higher viscosity at full speed if the product temperature is above 28°C, while another needs a longer ramp-down. This turns viscosity control from a guessing game into a repeatable routine.
When to Repair vs Replace: A Practical Scoring Checklist
A scoring checklist turns a frustrating guess into a fast decision. Give your item points across five categories: age, repair cost as a percentage of replacement cost, downtime, safety risk, and remaining lifespan. For example, if a repair costs more than half of a new unit and the equipment is already past 70% of its expected service life, score it toward replacement. If the fix is under 30% of replacement cost and adds at least two more years of reliable use, repair usually wins.
Don't ignore the hidden columns. Repeated breakdowns within the same quarter, discontinued parts, or rising energy consumption can shift a borderline score from repair to replace even when the upfront math looks fine. Add one point for every unplanned service call in the past six months, and subtract a point if the unit still meets current safety or efficiency standards. Once you tally the sheet, you'll find the answer is rarely as cloudy as it felt before the numbers were on paper.
FAQ
Unusual vibration, sudden changes in noise pitch, leaking seals, or motor temperature spikes are red flags. If you notice product contamination or inconsistent blending results, shut the unit down and call a technician before the damage spreads to the gearbox or shaft.
Top-entry units handle most open tanks and are easiest to access, side-entry works for large storage tanks where bottom space is limited, and bottom-entry suits high-viscosity fluids or applications needing strong bottom turnover. Match the entry style to your tank geometry, fluid rheology, and maintenance access.
Many plants forget to check seal flush pressure, re-grease bearings on schedule, and verify impeller blade clearance after every cleaning cycle. Also, inspecting shaft runout and tightening mounting bolts after thermal cycling prevents misalignment that quietly destroys seals and couplings.
Bring the unit's serial number, motor horsepower, shaft diameter, impeller type, operating speed, fluid viscosity range, and a brief history of recent repairs. Photos or a short video of the issue help the service team diagnose the problem before they arrive.
Keep the seal flush system clean and at the correct pressure, avoid running the agitator dry, and monitor shaft deflection. Choosing a double mechanical seal with a compatible barrier fluid makes a huge difference when handling abrasive or sticky products.
Preventive maintenance replaces wear parts on a schedule to avoid unplanned downtime, while reactive repair waits for failure. In most production environments, a simple monthly inspection program costs less than a single emergency gearbox replacement, especially if you track vibration trends.
A good service provider can run mixing tests, calculate power draw, and recommend impeller changes or speed adjustments to improve blend time and reduce energy use. Many also offer retrofits like variable frequency drives or upgraded seal systems without replacing the entire unit.
Check for abnormal noise, oil leaks, overheating gearboxes, loose fasteners, and any change in motor amperage. Also verify that the seal flush flow is visible and the tank liquid level matches the operating range, since low level can starve the seal.
Conclusion
Choosing a mixer agitator isn't about grabbing the biggest impeller on the shelf. Match the blade geometry and diameter to the actual job—axial flow for blending, radial for dispersion, high-solidity designs for viscous batches—and you avoid the double mistake of dead zones and wasted horsepower. Once the unit runs, your best maintenance manual is the wear itself. A polished, even shine on the impeller tells you the flow is balanced; pitting on one blade edge or a grooved shaft near the seal points to cavitation, misalignment, or solids settling. Pay attention before the damage migrates. And before you blame the seal for every leak, run a simple shaft alignment check. Most premature seal failures aren't material defects—they're the result of a shaft running true at rest but wobbling under load because the coupling, gearbox, or bearing housing shifted. Fix the alignment, and the seal stops failing.
Then there's the money side. A bargain service contract often looks good until you add up emergency callouts, lost batches, and shortened component life from neglected adjustments. The genuine cost isn't the contract price—it's the downtime you didn't plan for. Viscosity changes deserve special attention, because a mixer that handles water-like viscosity at startup may struggle when a thickener or polymer pushes the batch past 5,000 cP. Field-tested logic says: check the motor amp draw first, feel the gearbox temperature, and watch for surface vortex collapse. Reduce speed before you overload the drive, but never below the minimum tip speed needed to keep solids suspended. Finally, when repairs stack up, score each issue: crack depth in the hub, bearing play in the gearbox, shaft runout, and replacement parts availability. If the total score passes your repair threshold for the third time in a year, replace the agitator. It's cheaper than nursing a tired machine through every campaign.
Contact Us
Contact Person: HaiYan
Email: [email protected]
Tel/WhatsApp: +86 18957325588
Website: https://www.senyoubeton.com/